This is a continuation of the Azure DevOps + Azure App Service adventures. The other posts in this series are:
- Working with Azure DevOps + Azure App Service – Part 1
- Working with Azure DevOps + Azure App Service – Part 2
When I did my presentation for NEOWIT earlier this week, I showed a failed pipeline run with the Super-Linter from GitHub. Now let’s talk about adding that into the Azure Pipeline.
What is a linter?
Linters are tools that can help improve your code. They can help enforce coding standards in a code base. They can enforce readability measures. They can check for typos, warnings, and errors. They can help catch potential bugs before they get out to production. Linters are configurable for you to use them to apply the rules you need and exclude rules you don’t need.
What is Super-Linter from GitHub?
Super–Linter from GitHub is a combination of linters that can be used in GitHub Actions. They have a wide variety of linters. Check out the list – from programming languages to configuration languages, there’s a lot offered by this tool.
Adding Super-Linter to our Azure Pipeline
Since our code has C# and CSS, I am going to add Super Linter to apply linting rules to our .cs and .css files.
We are using environment variables to specify what we want linted. These are the fields and values we are using:
- RUN_LOCAL=true – This is used for running Super-Linter in a Docker container. This is the approach we will be using. Learn more here: Run Super-Linter locally to test your branch of code.
- FILTER_REGEX_EXCLUDE=.*tmp/lint/wwwroot/lib/*.* – We are excluding the third-party libraries folder.
- VALIDATE_ALL_CODEBASE=false – We don’t want to validate everything.
- VALIDATE_CSHARP=true – We do want to validate our C# files.
- VALIDATE_CSS=true- We do want to validate our CSS files.
We are adding linting as a step to the build job in our Azure Pipeline. The azure-pipelines.yml file should look like this:
# ASP.NET Core
# Build and test ASP.NET Core projects targeting .NET Core.
# Add steps that run tests, create a NuGet package, deploy, and more:
# https://docs.microsoft.com/azure/devops/pipelines/languages/dotnet-core

trigger:
- master

jobs:
  - job: build
    pool:
      vmImage: ubuntu-latest

    variables:
      buildConfiguration: 'Release'

    steps:
    - script: |
        docker pull github/super-linter:latest
        docker run -e RUN_LOCAL=true -e FILTER_REGEX_EXCLUDE=.*tmp/lint/wwwroot/lib/*.* -e VALIDATE_ALL_CODEBASE=false -e VALIDATE_CSHARP=true -e VALIDATE_CSS=true -v $(System.DefaultWorkingDirectory):/tmp/lint github/super-linter
      displayName: Lint C# and CSS

    - script: dotnet build --configuration $(buildConfiguration)
      displayName: 'dotnet build $(buildConfiguration)'

    - task: DotNetCoreCLI@2
      inputs:
        command: 'publish'
        publishWebProjects: true

    - task: PublishPipelineArtifact@1
      inputs:
        targetPath: '$(Pipeline.Workspace)'
        artifact: 'DotNetCoreSample'
        publishLocation: 'pipeline'
Save these changes, which will trigger your pipeline to run.
Examining the Linter Results
When you save the changes to the pipeline, it will automatically trigger a run with the new code. You should see the failure on the build job.
- Go into the run details.
- Under Jobs, select build. This will take you to the details for this job.
- Notice that there’s an error on the step labeled Lint C# and CSS. Select that step to get the log for the step.
- Reading the log, you will see errors like these:
2022-07-21 19:09:19 [INFO]   ----------------------------------------------
2022-07-21 19:09:19 [INFO]   Linting [CSHARP] files...
2022-07-21 19:09:19 [INFO]   ----------------------------------------------
...
2022-07-21 19:09:23 [INFO]   ---------------------------
2022-07-21 19:09:23 [INFO]   File:[/tmp/lint/Pages/Index.cshtml.cs]
2022-07-21 19:09:26 [ERROR]   Found errors in [dotnet-format] linter!
2022-07-21 19:09:26 [ERROR]   Error code: 2. Command output:
------
  Formatting code files in workspace '/tmp/lint/Pages'.
  Pages/Index.cshtml.cs(10,80): Fix whitespace formatting.
  Pages/Index.cshtml.cs(11,1): Fix whitespace formatting.
  Pages/Index.cshtml.cs(20,6): Fix whitespace formatting.
  Formatted code file '/tmp/lint/Pages/Index.cshtml.cs'.
...
These errors would need to be corrected before your pipeline could succeed.
Why didn’t this create a release?
In the Part 2 post, we talked about build pipelines and releases. When we created the release pipeline, we enabled the continuous deployment trigger. There is a note on the continuous deployment trigger page that is key to understanding why the linting failure didn’t generate a release.
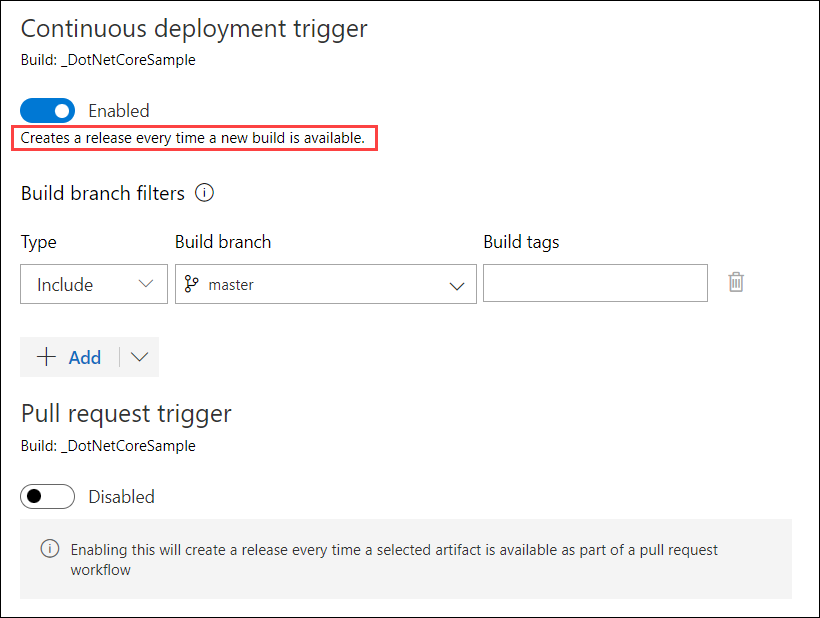
The note says “Creates a release every time a new build is available.” Since the linter fails, then a new build isn’t created. Since a new build isn’t created, then there is no release.
Conclusion
In this post, we looked at a linter and how to add it to our Azure DevOps build pipeline. We were able to see how a linter could improve our code. We could also see how it would prevent us from deploying code that didn’t meet our standards.